Regular descaling of your Scotsman ice machine and KitchenAid coffee maker is crucial for maintaining their performance and extending their lifespan. Hard water is the number one killer of all appliances that accept water, as mineral buildup can damage internal components, reduce efficiency, and even alter the taste of your ice or coffee.
In this comprehensive guide, we will walk you through the tools and steps necessary to descale both appliances, provide key tips for keeping them running smoothly after descaling, and link to our previous blog posts about washing machines, dishwashers, and their proper maintenance.
Why Descaling is Important for Your Scotsman and KitchenAid Appliances
Protecting the Lifespan of Your Appliances
Over time, mineral deposits build up inside appliances that use water, like Scotsman ice machines and KitchenAid coffee makers. If left untreated, this buildup can cause serious damage to components such as pumps, pipes, and heating elements. Descaling helps to remove these deposits, protecting the integrity of your appliances and extending their overall lifespan.
Improving Performance and Efficiency
Mineral buildup can reduce the efficiency of your appliances. In a Scotsman ice machine, it may result in slower ice production, smaller ice cubes, or irregularly shaped ice. In a KitchenAid coffee maker, it may lead to slower brewing times, odd-tasting coffee, or inconsistent coffee temperature. Regular descaling ensures your appliances are operating at peak performance.
Vinegar can be used as an alternative descaling agent, but keep in mind it is less effective compared to commercial descaling solutions.
Preventing Mineral Build-Up and Damage
Hard water contains minerals like calcium and magnesium, which leave behind a residue inside your appliances. If not removed through descaling, this residue can harden and lead to clogged pipes, decreased water flow, and even system malfunctions.
Descaling not only improves performance but also helps prevent costly repairs. While vinegar can be a more natural and gentle option, it may not be as efficient at removing tough mineral buildup compared to specially formulated descalers.
Tools and Materials You’ll Need for Descaling
Descaling Solutions and Cleaning Supplies
- A descaling solution approved by Scotsman or KitchenAid.
- Vinegar can also be used as a replacement for the descalers provided. This would be a more homeopathic option, easier on the hands, but less effective at removing scale.
- Clean cloths or sponges for wiping down surfaces.
- Fresh water for rinsing after descaling.
Safety Equipment
- Rubber gloves to protect your hands from the descaling solution.
- Safety goggles to protect your eyes in case of splashes.
Manufacturer’s Instructions
- Always have the appliance manual handy. Each model may vary slightly, and following the manufacturer's guidelines ensures you won’t void any warranties or damage your equipment.
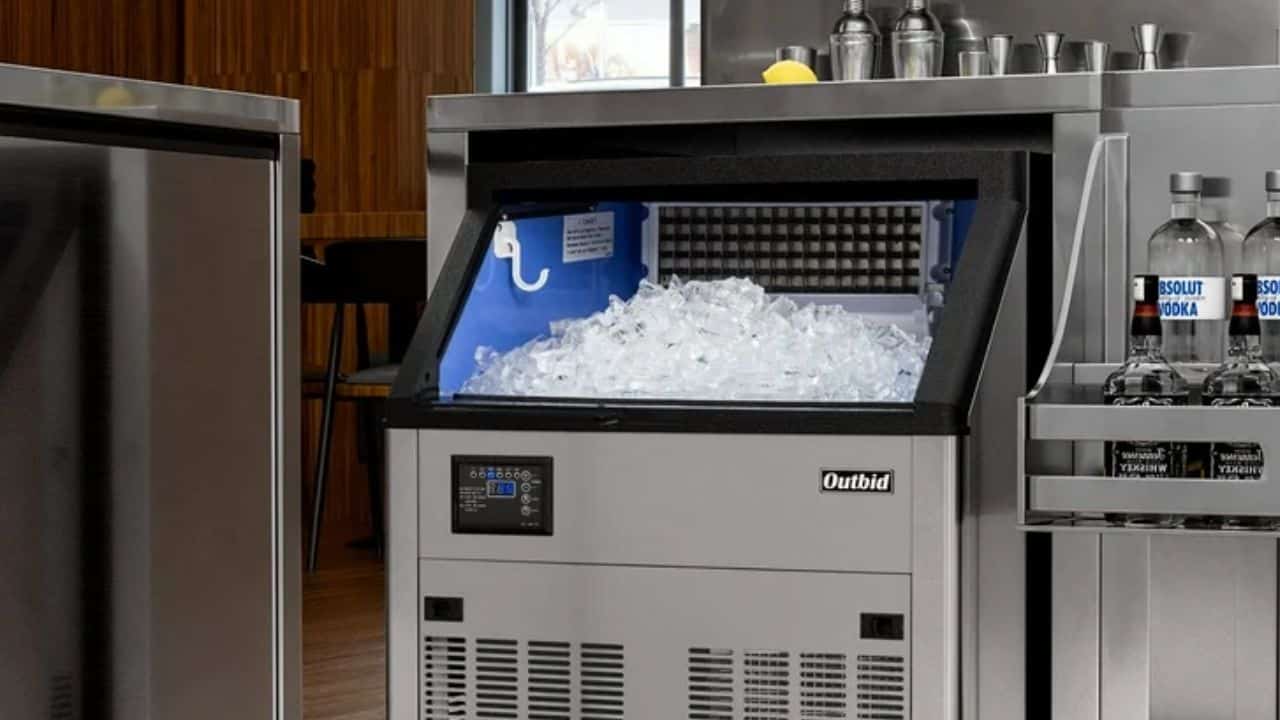
What To Expect When Descaling a Scotsman Ice Machine
Before beginning the descaling process, always reference the user manual for your specific Scotsman model. The manual provides detailed instructions to ensure you are following the correct procedure, maintaining safety, and not voiding any warranties.
Additionally, consider using Scotsman-approved descaling solutions such as:
- 19-0653-01 Scotsman ice machine scale remover (concentrate)
- 19-0664-01 Scotsman ice machine scale remover (single-use pre-mixed)
For further assistance, you can refer to these helpful descaling videos:
- Descaling video for SCN60 nugget ice maker
- Scotsman descale video SCCP and SCCG models
- Scotsman DCE33 descale video
Step 1: Prepare the Ice Machine for Cleaning
- Caution: Before starting the descaling process, ensure the ice machine is completely turned off and unplugged to avoid any risk of electric shock or injury.
- Remove all ice from the bin.
Pre-Cleaning the Bin:
- Empty any remaining ice from the bin and discard it.
- Wipe down the interior of the ice bin with a clean cloth to remove any debris or residue. For better results, consider using isopropyl alcohol (70-99%) as it acts as a disinfectant, evaporates quickly, and effectively removes stains from plastic.
Step 2: Mix and Apply the Descaling Solution
Use the descaling solution recommended for Scotsman ice machines.
Choosing the Right Descaling Solution: Refer to the manufacturer’s manual for the recommended solution to avoid damaging internal components. For Scotsman ice machines, we recommend using:
- 19-0653-01 Scotsman ice machine scale remover (concentrate)
- 19-0664-01 Scotsman ice machine scale remover (single-use pre-mixed)
Correct Mixing Ratios Based on Model:
- Follow the solution-to-water ratio specified for your particular Scotsman model. Using too much or too little solution can reduce its effectiveness or harm the machine.
- Pour the descaling solution into the ice machine as directed by the manufacturer.
Step 3: Run the Cleaning Cycle
- Start the machine’s cleaning cycle as described in the manual. The cleaning cycle will circulate the descaling solution through the machine, breaking down mineral deposits.
- Caution: Ensure proper ventilation in the room, as fumes from the descaling solution can be harmful. Do not mix chemicals, even accidentally. Flush any drains with water after a single chemical goes down to ensure no chemicals are mixing. Sanitation and descaling should be done separately, but back-to-back is acceptable.
- Let the cycle run its full duration to ensure all internal components are properly cleaned.
Step 4: Manually Rinse and Sanitize
Most appliances do not have a rinse cycle or function, so rinsing should be done manually by hand.
- Once the cleaning cycle is complete, flush the machine with fresh water to remove all traces of the descaling solution.
- Caution: It’s important to remove all descaling solution residue, as any remaining chemicals can contaminate the ice.
- Proper Rinsing to Remove Solution Residue: Run multiple rinse cycles with fresh water to thoroughly flush the system.
- Sanitization Tips to Prevent Contamination: After rinsing, sanitize the machine according to the Scotsman manual. This is essential for food safety and preventing bacterial growth.
Step 5: Restart the Ice Machine
- After rinsing and sanitizing, restart the ice machine.
- Allow the ice machine to run for 30 minutes to push all remnants of descaler out of the system. Discard the ice made during this period.
- Monitor it for proper ice production and ensure that there are no odd tastes or smells.
Step-by-Step Guide to Descaling a KitchenAid Coffee Maker

Before beginning the descaling process, it is recommended to use products specifically designed for your KitchenAid coffee maker. Consider using the Affresh descaler tablets as recommended by KitchenAid:
- Affresh Coffee Maker Cleaner Tablets
- KitchenAid Guide to Cleaning and Descaling a Coffee Maker
- Video: How to Descale a KitchenAid Drip Coffee Maker
Step 1: Prepare the Coffee Maker for Descaling
- Empty the water reservoir and discard any remaining coffee grounds.
- Caution: Unplug the coffee maker to avoid electrical hazards while cleaning.
- Pre-Cleaning the Water Reservoir: Wash the water reservoir with warm, soapy water to remove any leftover residue.
- Rinse thoroughly and dry before adding the descaling solution.
Step 2: Prepare and Add the Descaling Solution
- Use the KitchenAid-approved descaling solution to avoid damaging the internal components.
- Caution: Ensure that the solution is mixed according to the manufacturer’s guidelines to maintain its effectiveness without causing harm to the machine.
- Fill the water reservoir with the descaling solution mixture.
Step 3: Start the Descaling Cycle
- Begin the descaling cycle on the coffee maker. The machine will use the solution to break down any mineral deposits inside.
- Caution: Be careful around hot surfaces and steam during this process, as the machine will be heated.
- Pausing the Cycle for Optimal Effect: Pause the descaling cycle halfway through to allow the solution to sit and break down tougher mineral deposits.
- Monitoring Steam and Hot Surfaces: Keep a close eye on the machine to avoid burns from steam or hot water.
Step 4: Rinse and Clean the Coffee Maker
- Once the descaling cycle is complete, flush the system by running multiple cycles with fresh water to ensure that no descaling solution remains.
- Example: Make multiple cups of coffee without coffee to rinse the appliance.
- Caution: Any leftover solution can affect the taste of your coffee.
- Example: Make multiple cups of coffee without coffee to rinse the appliance.
- Running Multiple Cycles for a Thorough Rinse: It’s recommended to run at least 2-3 rinse cycles to completely remove any residue.
- Cleaning Removable Parts Safely: Remove and wash any detachable parts, such as the filter basket or carafe, with warm soapy water. Most of these items are dishwasher safe these days. Recommend viewing the owner's manual for dishwasher-safe components.
Step 5: Final Check and Restart
- After rinsing, allow the machine to cool down before reassembling.
- Caution: Handling a hot coffee maker can cause burns, so always ensure it has cooled sufficiently before touching any parts.
- Restart the coffee maker and brew a test pot to ensure that everything is working smoothly and that the coffee tastes as expected.
Tips for Maintaining Your Scotsman and KitchenAid Appliances After Descaling
Regular descaling is essential, but there are other ways to keep your appliances in top shape between cleanings.
How Often Should You Descale Your Appliances?
It’s generally recommended to descale every 3-6 months, depending on usage and the hardness of your water. Visually inspect your appliance for traces of hard water buildup. If you see mineral deposits forming, it is most likely a good idea to descale the appliance.
- Frequency Based on Water Hardness: If you live in an area with hard water, you may need to descale more often. Pausing or stopping a descaling cycle with the solution is a good idea for a deeper clean, but it should not exceed 60 minutes.
- Usage Patterns and Descaling Intervals: For high-use appliances, such as an ice machine in a busy household or a daily-use coffee maker, more frequent descaling may be necessary.
Best Practices for Preventing Mineral Buildup
- Use Filtered Water: Using filtered water helps reduce the amount of mineral buildup inside your appliances. Most manufacturers do not recommend using reverse osmosis (RO) water, but particulate filters or other water mitigation options (not including water softeners, as no one likes salty ice or coffee) are a good idea for appliance longevity.
- Wipe Down and Clean Regularly: A quick wipe-down after each use helps prevent buildup from becoming a bigger issue later.
- Regular Cleaning Schedules: Stick to a regular cleaning schedule that includes descaling and sanitization to maintain appliance performance.
Signs It’s Time to Descale Again
- If you notice slower ice production, smaller cubes, a difference in the taste of your coffee, or visible mineral buildup from the dispenser, these are signs that mineral buildup is affecting performance and it’s time to descale.
Caution Reminder
Always consult your Scotsman or KitchenAid appliance manual before starting the descaling process. Instructions may vary between models, and following the manufacturer’s guidelines ensures you won’t void your warranty or damage your appliance.
By following this detailed guide, you can ensure your Scotsman ice machine and KitchenAid coffee maker remain in peak condition. Regular descaling and proper maintenance will not only improve performance but also extend the life of your appliances, saving you time and money in the long run.
Need a Professional?

If your Scotsman appliance still isn't working as expected after you descale it, or if you're experiencing other issues, consider calling in a professional who specializes in these specific appliances. While we do not repair KitchenAid drip coffee makers, this guide is intended to provide helpful information for maintaining them. Our specialty is larger kitchen and laundry appliances such as refrigerators, dishwashers, ovens, and washers and dryers. Professional technicians can diagnose and repair any issues with Scotsman appliances, ensuring they are back to optimal performance.
Call (801) 731-iFiX or book online. Same-day appointments available.